Configuration
Configuration in SmartSetup is done by editing a tms.config.yaml file. From the command line, you can just call tms config to open it in the default editor. From tmsgui, you can press the "Configuration" button.
Note
SmartSetup comes with no configuration file by default. To create it, you have to call tms config from the command line or the equivalent in the GUI. Once it is created, you can just edit it with your editor of choice.
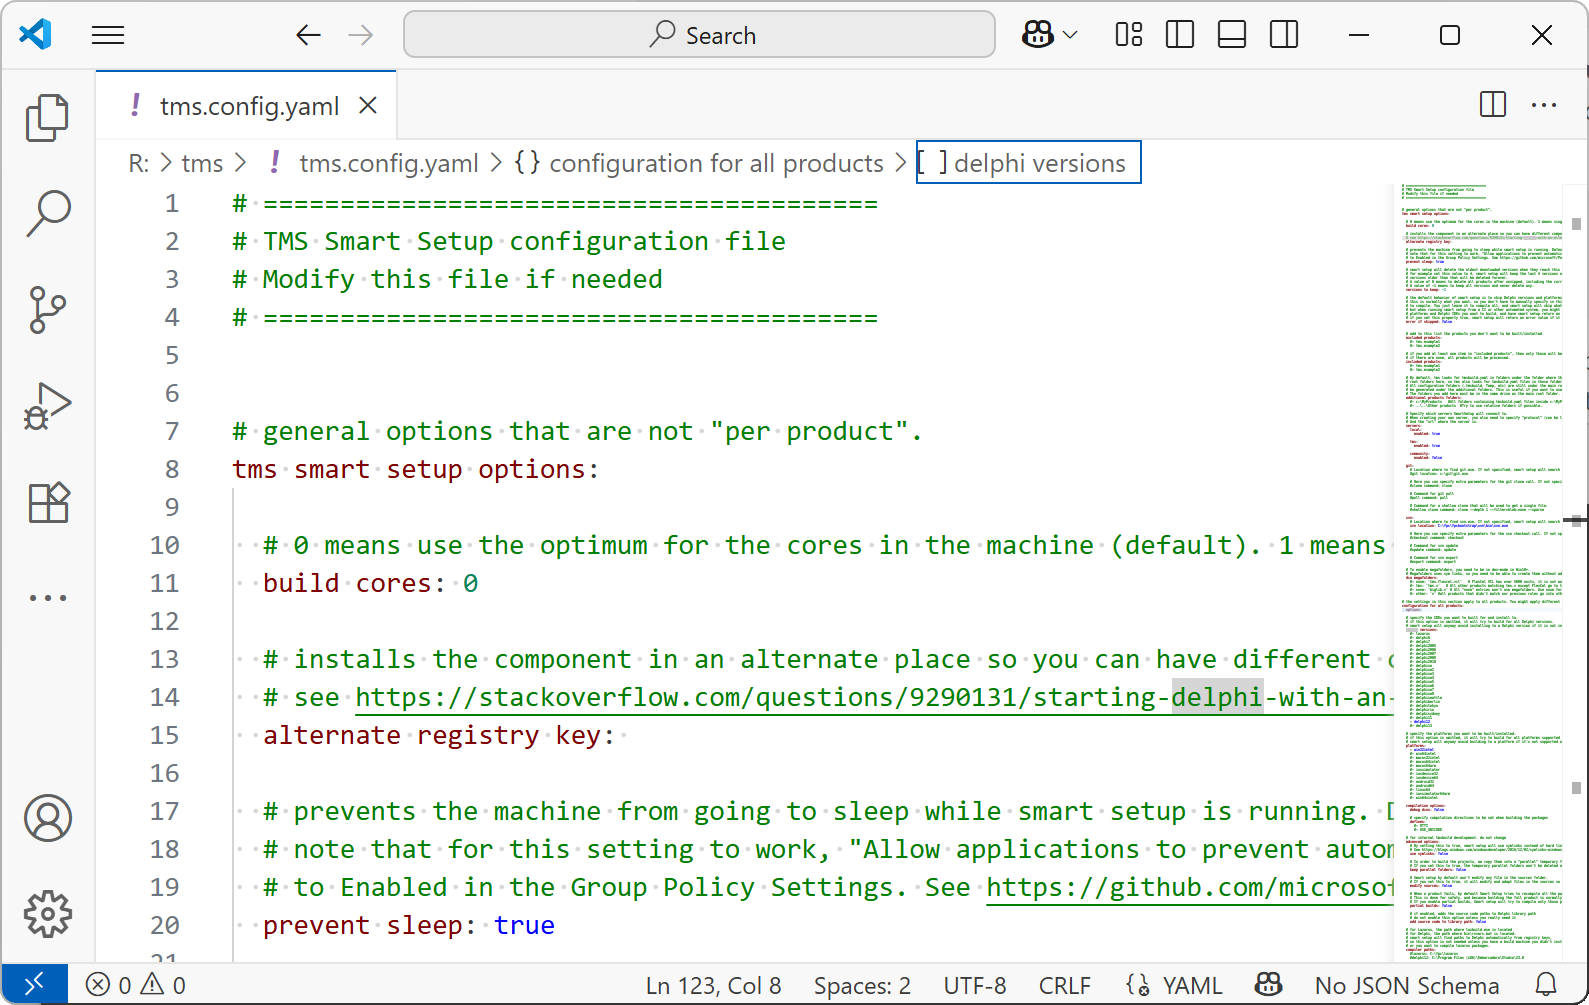
Here is how it looks in Visual Studio Code.

Note
We have a schema for the file available at https://github.com/tmssoftware/smartsetup/blob/main/tms/example-config/tms.config.schema.json Many modern editors, like Jetbrains IDEs, should be able to pick this schema automatically and provide autocompletion and error checking to the file. To use this in Visual Studio Code, as seen in the screenshot, you need to install the YAML extension
The file is self-commented, so you can find help about all the options just by reading inside. In this guide, we are just going to look over the most important settings you might want to change.
Important
Do not store your own comments inside this configuration file.
Some commands like tms server enable or tms config-write will override the config file with a clean file (keeping your configuration). They will remove all your comments and reformat the file. GUI apps will also call those commands internally, so it is very likely that they will regenerate the config file.
Updating your configuration file
From time to time, we might add new properties to the config file, change comments, or add documentation. If you have an older config file with an existing configuration, you won't see those new properties when you update.
There is a simple solution to this. Just type:
tms config-write
And the config file will be updated to the newest version, while keeping all your settings. This is the reason we can't preserve your own comments in the file: if you changed a comment and we changed it too, we would need to merge both versions and there might be conflicts. The simplest solution is just to regenerate the config file and discard your comments and white-space changes. Every time you do a config-write the file will be reformatted clean, and all metadata updated. The new properties that we added will also be added to the file.
Shared configuration and specific configuration for a single product
Sometimes, you might want to apply different settings to different products. For example, you might want to build product example.a only for Win32 (even if product example.a supports other platforms), and all the other products for all the platforms they support. To do that, you can create a specific "Configuration for product example.a" section inside your tms.config.yaml. It will look like this:
configuration for all products:
  ...
configuration for example.a:
  platforms:
    - win32intel
You only need to specify the settings that differ from "all products" in the product-specific configurations. All the others will be inherited.
Note
Try to keep it simple. The more product-specific settings you add, the more complex the config file will be to maintain. If possible, stick to just a single global configuration.
Basic configuration
The most likely things that you might want to review are:
- build cores: By default, SmartSetup will try to use them all, and that's normally what you will want. But if this stresses your machine too much, you can reduce the number of cores used.
- skip register: The default is that we register all components in the IDE. If you just want to build, but not change any settings, set this property to false.
Note
We recommend you skip just all or nothing. (skip register: true/false). But if you prefer to skip just certain parts, it might be useful to use the negated form: skip register: [all, -option1, -option2].
We might add new skip register options in the future, say, for example, we add option6. With the form skip register: [option1, option2] you might need to change it to skip register: [option1, option2, option6] While the negated form skip register: [all, -option1, -option2] it will still skip everything except option1 and option2, so the new option6 will be skipped by default.
- debug dcus: If you don't change it, SmartSetup will compile the libraries in both debug and release modes. While this will allow you to step into the code in those libraries while debugging, it will also more than double the space used on disk, and increase the build time (since each library has to be compiled twice)
- delphi versions: The default if nothing is selected is that SmartSetup will try to compile the library for all the Delphi versions installed on your machine. If you just want to install for a single Delphi version (or multiple), you can configure that here.
- platforms: Similar to delphi versions above, if you don't specify any platform, SmartSetup will try to compile for all the platforms that the library supports and that you have installed. If you only care about some specific platforms, you can change it with this setting.
Defines
Using Dcu Megafolders
Warning
This is an advanced topic. Dcu Megafolders are not enabled by default, and that's the correct choice most of the time. Only enable them if you are experiencing actual problems because of the length of the Library Path.
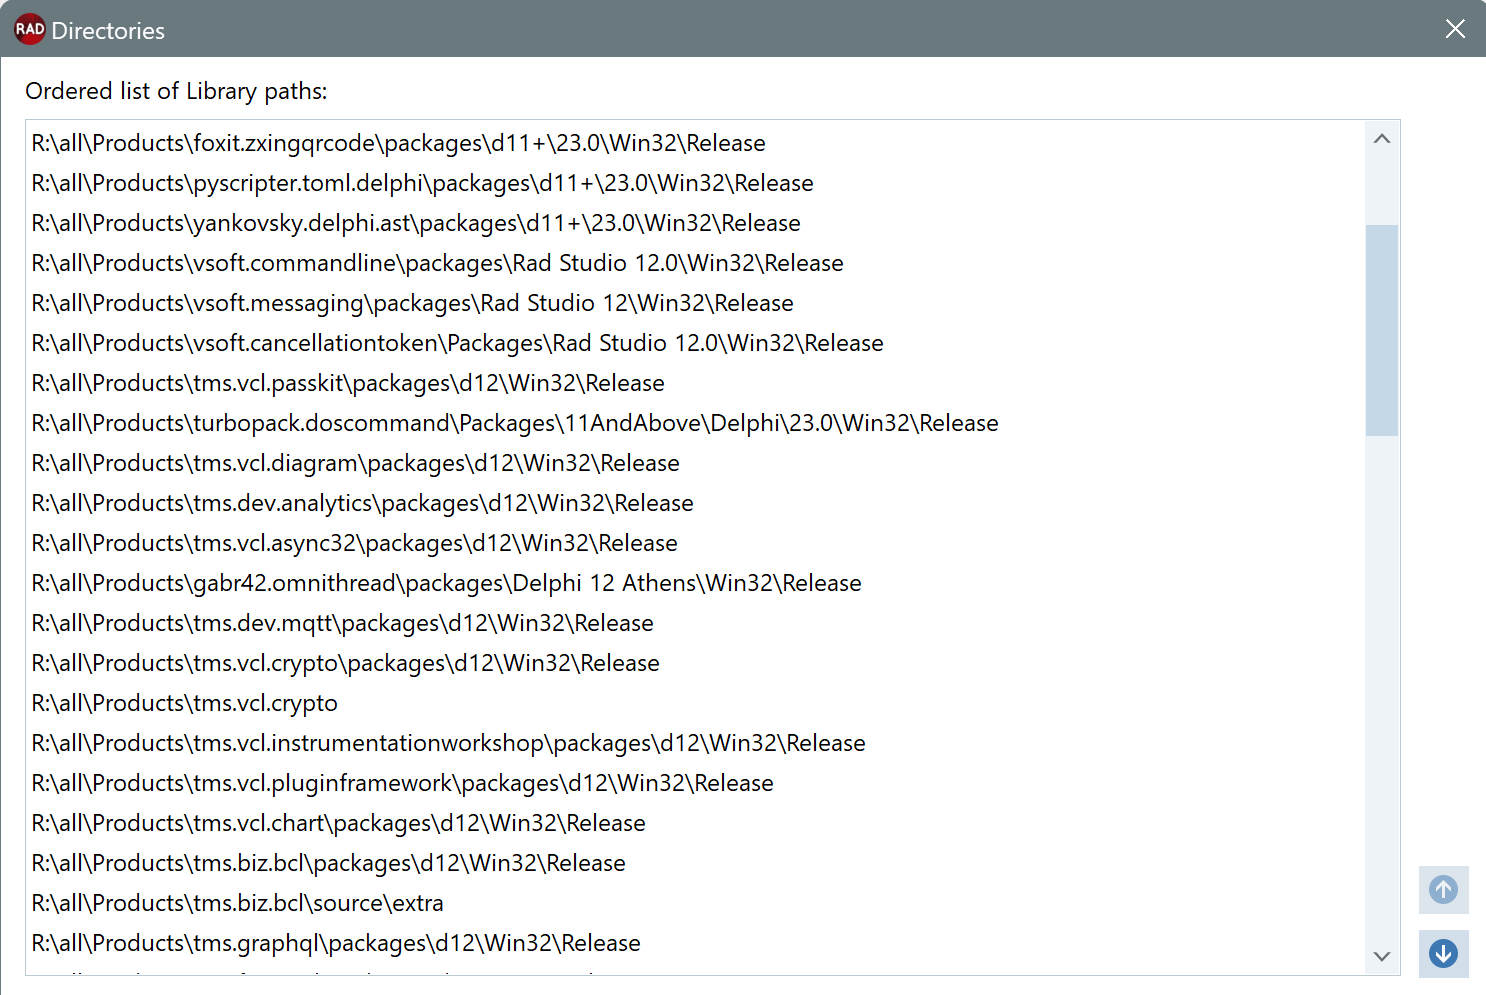
SmartSetup can install tens of products in minutes. This is great, but each of those products adds its own entry to the library path, and the library path can become huge.

Having a huge library path isn't necessarily a problem: Delphi will keep working as usual, and SmartSetup will also be able to build your products no matter its length. If you are using msbuild as default, it might run into a "32k" limit, but that can be workarounded by passing /p:DCC_UseMSBuildExternally=true as a parameter to compile.
Still, there might be cases where a huge library path might become problematic. For those cases, SmartSetup offers the "Dcu Megafolders" feature, where a lot of dcus from different products are linked in a single folder, and only that folder is added to the Library path.
To enable them, follow the steps:
- Verify that you can create symbolic links without admin rights. Dcu Megafolders use symlinks, and in a default Windows configuration, symlinks require admin rights. If you haven't already, you need to enable developer mode in your Windows machine. See also https://blogs.windows.com/windowsdeveloper/2016/12/02/symlinks-windows-10/
- From the command line, cd to the folder where your SmartSetup installation is located.
- If you have an old
tms.config.yamlfile, which doesn't have adcu megafolderssection, typetms config-writeto update yourtms.config.yamlto the latest - Type
tms configto edit the config file. Search for the section "dcu megafolders". (If you can't find it, make sure you completed step 3 above.) - Edit the section "dcu megafolders" to specify how you want those folders created. You can specify for every product where you want its dcus to go.
Important
You could put every dcu in a single folder, and add only that single folder to the library path. This approach might work, but depending on the speed of your hard disk and the number of products you have installed, might make that single folder too slow. Windows isn't very fast at dealing with a folder with hundreds of thousands of files.
Below is the example section that comes with tms.config.yaml:
  # To enable megafolders, you need to be in dev-mode in Win10+.
  # Megafolders use symlinks, so you need to be able to create them without admin rights.
  dcu megafolders:
    - none: 'tms.flexcel.vcl'   # FlexCel VCL has over 5000 units, it is not worth putting it into a megafolder
    - tms: 'tms.*'   # All other products matching tms.* except FlexCel go to the tms folder
    - none: 'biglib.*' # All "none" entries won't use megafolders. Use none for big libraries.
    - other: '*' #all products that didn't match our previous rules go into other.
This list is ordered and must be read from top to bottom.
The first rule, having the reserved name of none, means that all the dcus from tms.flexcel.vcl will not be linked to any megafolder, and we will just add tms.flexcel.vcl to the library as we normally do. You can use none for very big libraries, because the benefit of linking all those dcus to a shared folder is not that much, because the shared folder will get very big. On the other hand, small libraries with 3 or 4 dcus are a good match for megafolders, because you avoid adding an entry in the library path for just 3 or 4 dcus.
The second rule links all other tms dcus to a single "tms" megafolder. Only a single entry on the library path will be added.
The third rule skips another big library from the megafolders, just adding its normal path to the library path.
And the last rule just links anything that did not match any of the previous rules to the "other" folder.
Tip
The example above is complex on purpose, so we can show you all that could be done. But most times, you can probably get away with just:
  dcu megafolders:
    - dcus: '*'
That configuration will just link every dcu from every product to a single "dcus" folder, and only add that folder to the library path.