GUI tool usage
Main Screen
Alternatively to command-line, you can use the GUI tool. Just launch tmsgui.exe executable.
If the working folder is not initialized, it will first ask you what servers you want to enable:

Here, you can choose if you want to manage tms products, if you want to manage products from the community server, or both.
If you enable the tms server, you will get another dialog asking you for the credentials:

And then you should arrive at the main view:

- Search box: type to find the product you want to install.
- Filter pane: select whether to see all available products, or only installed ones.
- Product list: a list of all products installed or available.
- Status column: shows if a product is outdated and/or pinned.
- Server selection box: this box is only visible if there is more than one active server, and it allows filtering the results by server.
- Settings: set general settings for tms/tmsgui.
- Install: download and install the selected products. Equivalent to tms install command.
- Uninstall: uninstall the selected products. Equivalent to tms uninstall command.
- Full build/partial build: rebuild the selected products. If no products are selected, rebuild everything. Equivalent to tms build
-fulland tms build commands. - Credentials: ask for new credentials. Equivalent to tms credentials command.
- Configure: create (if missing) and open the YAML configuration file. Equivalent to tms config command.
- Output tab: shows the output of the current command-line being executed. For long-running commands like installing and building, you can switch to it to follow the progress of the execution.
- Status bar: at the bottom of the main window, the GUI displays the current working folder, and the current Smart Setup version.
Errors
When there are errors, an error pane will show:

If you click on the messages in the error pane, it will show more detailed information about the particular error.
Versioning
While by default SmartSetup installs the latest versions of the selected products, you can install any available version of any product.
Installing a version
To install a specific version, right click in the product:

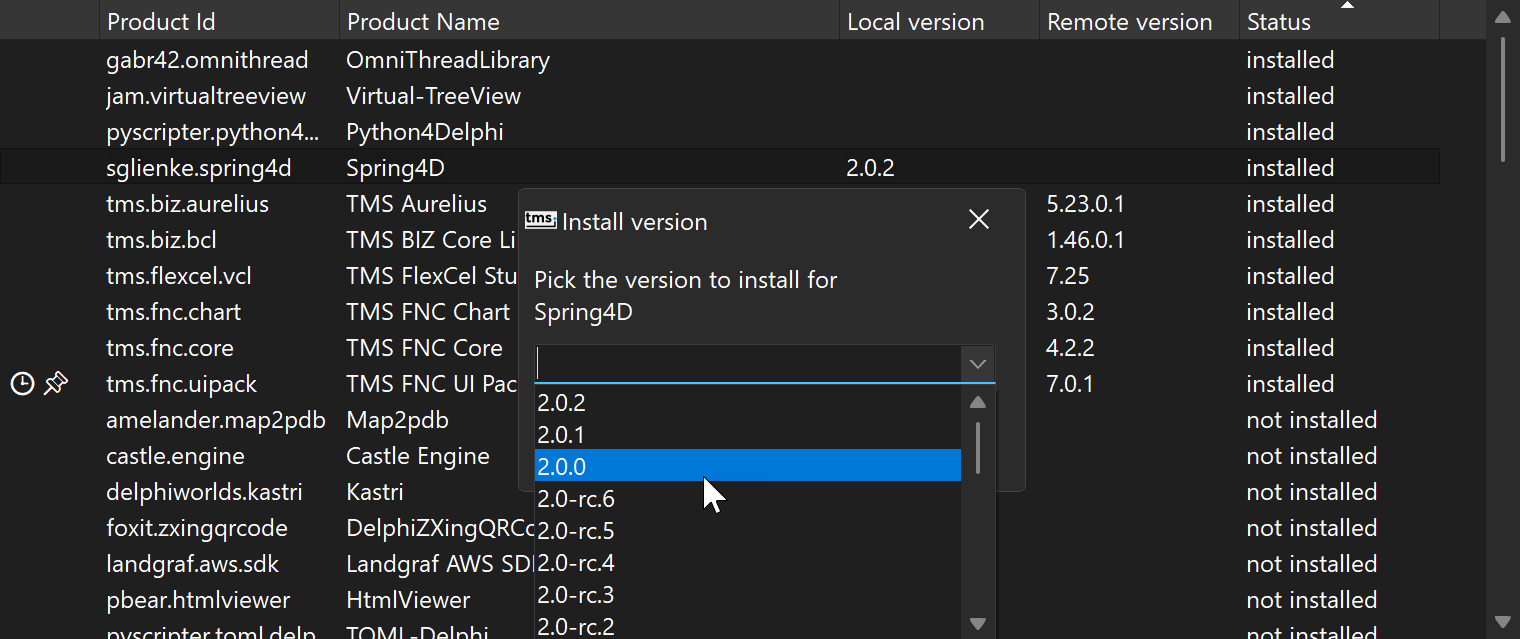
And select "Install version":

Note
For products hosted in an API server like tms, this dialog will show the versions available in the server. For products hosted in a git repository, it will show all the tags in the repository. For example, for Spring4D it will show:
Important
For products hosted in git, you can select any tag from the list, but also type any branch name or commit id. You can select any commit, not just tagged ones.
Pinning a version
After installing any version (including the latest), you can right click again in the product and Pin the product to that version. Pinned products will show with a pin in the status column, and will stay in that version until you unpin them.